-
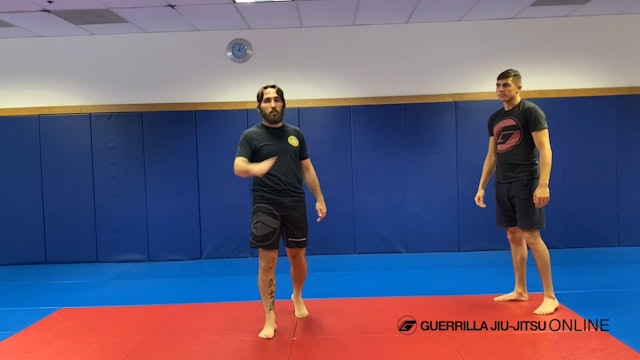
Using a Wall to Fix Your Straight Punches
Jt shows how to use a wall to fine-tune your jab and cross
-
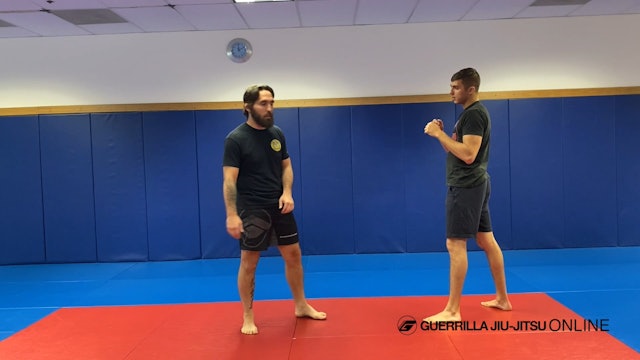
Using a Corner to Fine-Tune Your Hook
JT shows how to fine-tune your hook using a corner
-
Striking Fundamentals: Setting Up Low Kicks
JT and Nick demonstrate how to set up leg attacks with punch combinations in a light contact offense/defense partner drill. Gloves and shinguards are optional.
-
Striking Fundamentals: Low Kicks
JT and Nick demonstrate how to properly drill and place kicks to the legs without shin guards.
-
Cloak and Dagger Thread 1
This is a coordination lesson for the student to get their bodies to move in and out of guard submissions.
In this video you will be combining the Basics of Cloak and Dagger with the Omoplata Sweep in transition
to the Rule Of Six Cross Body System. -
Cloak And Dagger Thread 2
In this lesson, Dave teaches how to Turn The Tide against an opponent's guard pass and mount. He then
transitions into the Cloak and Dagger using the same Omoplata Sweep to hit the Rule Of Six’s deadly Elbow
Shredder Armlock! -
Cloak And Dagger Thread 3
This Thread starts standing with a dynamic guard pull. From here you execute the Cloak and Dagger system using the infamous Scissor Sweep. One quick dismount later Dave dynamically transitions to the RULE OF SIX’s
killer Submission: The Fulcrum Finish! -
Cloak and Dagger Thread 4
This lesson uses the turn the tide method to keep the attack going, Here you start standing with Osoto Gari. After taking the back the opponent defends and your slide to guard. Wasting no time you take advantage of Cloak and Dagger and use the Force Sprawl Method! From there its the triple threat...
-
Head outside Single and Double Leg Takedown
James again with the wrestling knowledge
-
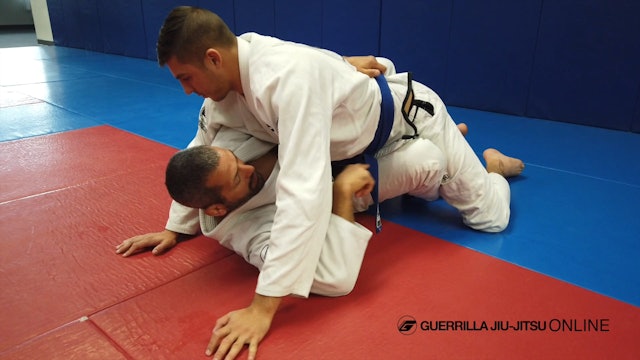
Cross Body Armbar Thread 2
Dave teaches another variation of a cross body armbar thread
-
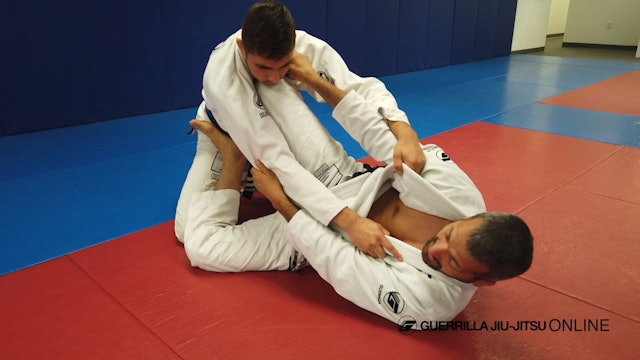
Cross Body Armbar Thread 1
Dave teaches an awesome cross body armbar thread the way only Dave can.
-
Patriot's Mount Escape Part 3
Alex teaches the 3rd part to his mount escape system.
-
Patriot's Mount Escape System Part 2
Alex shows part 2 of his effective mount escape system.
-
Patriot's Mount Escape System Part 1
Alex shows his three-part mount escape system.
-
Body Lock Takedown Part 1
James Tery show part one of his body lock takedown system
-
Wrestling Fundamentals - Defending the Single Leg Part 1
James shows part one of his single leg defense. He breaks down how
to attack your opponent’s grip and also how to lower their head using the whizzer, which is the precursor to sprawling on someone who is shooting on you. -
Body Lock Takedown Part 2
James shows Pat 2 of his body lock takedown system.
-
Wrestling Fundamentals - Achieve the Back Body Lock from the Single
James shows how to transition to the back body lock from the single leg.
-
Wrestling Fundamentals - Defending the Single Leg Part 2
James shows part 2 of single leg defense
-
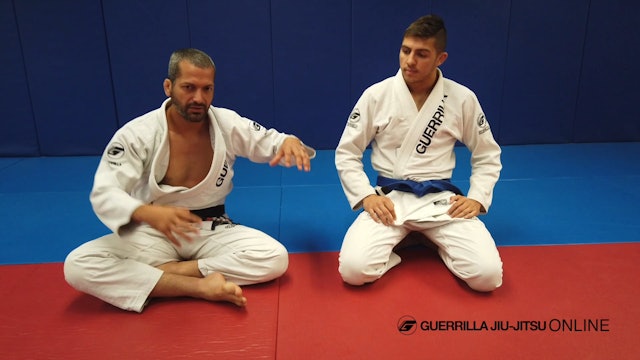
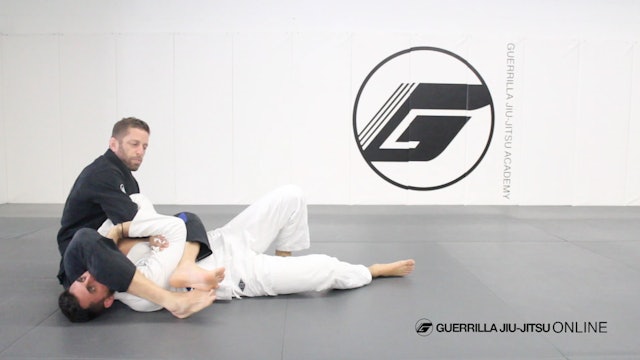
Standard Armlock Position (SAP) - Kimura Entry from Side Control
Matt Darcy teaches how to use the kimura armlock entry to transition into the SAP system against tough opponents.
Date: 9/19/2018
Instructor: Matt Darcy
Location: Guerrilla Jiu-Jitsu San Jose -
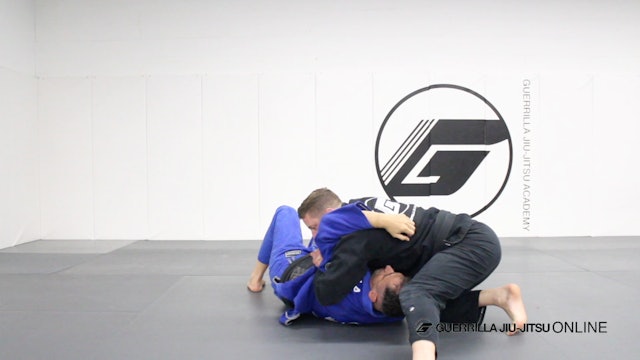
Side Control - Over Hook to Kimura
Matt Darcy shows how to do the standard over hook to kimura from side control after showing it from chopping block.
Date: 2/18/2019
Instructor: Matt Darcy
Location: Guerrilla Jiu-Jitsu San Jose -
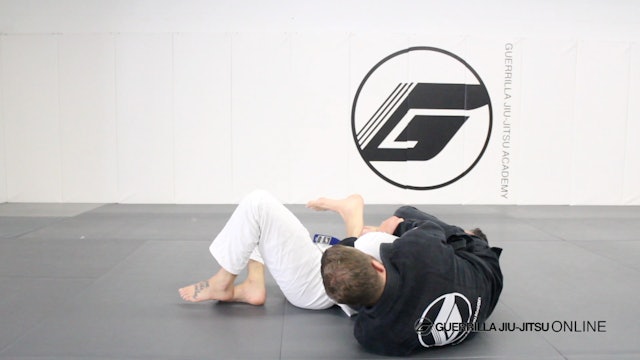
Beginner Essentials - Kimura to Armlock from Side Control
Matt Darcy teaches how to transition from the Kimura to an armlock using the kimura grip. Matt also teaches how to finish the armlock using the "Flash of the Blade" to rip the arm out and keep the opponent from stacking.
Date: 9/19/2018
Instructor: Matt Darcy
Location: Guerrilla Jiu-Jitsu S... -
Wrestling Fundamentals - How to Position Your Body When Shooting a Single Leg
James goes into detail on how to properly shoot the fundamental single leg takedown.
-
Using Grip Breaks to Set Up a Shot or Body Lock
James shows how to set up a wrestling shot or body lock using grip breaks.